Crop Image Tools
Empty image is the dead space between competitors. Pieces of the image can be removed, or cropped, either permanently or temporarily. This can be useful when reading a picture that has a lot of space between the participants.
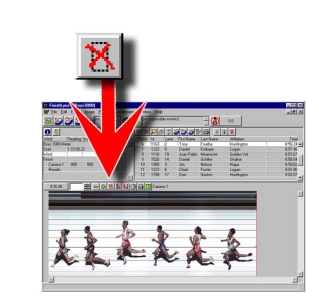
To crop an image, select a region of the image by pressing and holding the right mouse button and moving the mouse in any direction until a region is defined. Release the mouse button. You can either select the Crop option from the pop-up menu which appears, or click on the Crop icon.
A cropped image is smaller than an uncropped image and thus takes up less disk space when it is saved. The regions cropped out of an image can be restored (unless the file has been saved since the material was cropped) simply by clicking again on the Crop icon.
Alternatively you can select the image in the same way and choose the Crop option from the Image drop-down menu on the Menu Bar. When you do either of these things, a region as wide as you have selected (and the full height of the image) is removed from the image.
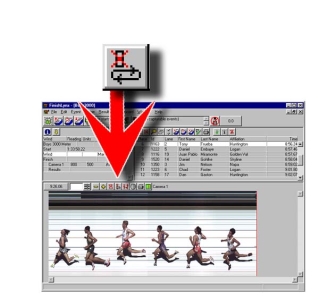
In many cases, the software is able to automatically crop the image by analyzing changes in the image. To automatically crop the image, click the Autocrop icon. A status bar will appear in the bottom right corner of the screen while the computer works.
Automatic cropping may not be effective in situations where the background is changing continuously.
The “aggressiveness” of the autocropping - what degree of activity is left after autocropping - can be adjusted using the Object Threshold in the Capture tab.
It is also possible, with the Automatic Capture Mode (ACM) Plug-in to automatically crop the image as it is being drawn to the screen. This can greatly speed up the evaluation process.
The Keep selection option available in the Image menu allows you to retain the portion of the FinishLynx image that you draw a box around. The rest of image is cropped.
- Instructions:
- With a FinishLynx image open, right-click and drag a box around a selection of the image you want saved.
- Click Image from the Menu Bar. A drop-down list appears.
- Click Keep selection. The portion of image you drew a box around remains on the screen. Other areas of image are cropped and disappear from view.
 and then Ok.
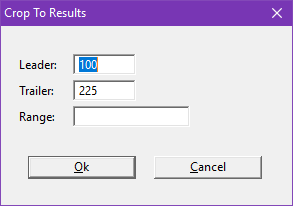
The Image | Crop to results... feature crops out the entire image except for the image around each result’s evaluated time.
- Clicking Image | Crop to results… makes the following dialog appear:
The Leader: and Trailer: values are how many frames before and after the result's evaluated time are kept in the image.
If the Range: value is left blank, all current results are used.


