Image Tool Bar Functions
The Image Tool Bar offers multiple functions to make the process of producing results easier.
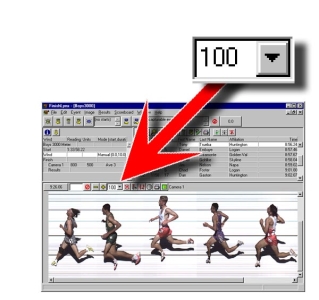
If the Custom Zoom icon is available in the Image Zone, the image can also be zoomed to preset values by clicking on the arrow to the right of the zoom window containing the numeric "100". This calls up a drop-down dialog of available preset values. Typing a percentage value in this box and pressing the Enter key will also set the zoom factor.
If the Custom Zoom Icon is not visible, open the Image , select Options… and check the box next to the Custom Zoom Icon.
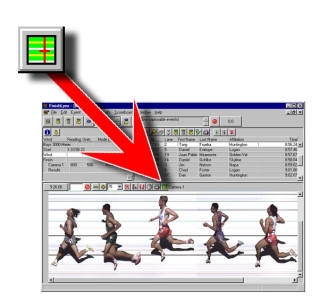
FinishLynx has the ability to automatically find the next object in the image. Clicking on the Find Object icon will search the image for the next likely object of interest in the image. This is most useful in larger images, or in cases such as pari-mutuel racing where it is desirable to leave the blank space in the image.
Standard Zooms
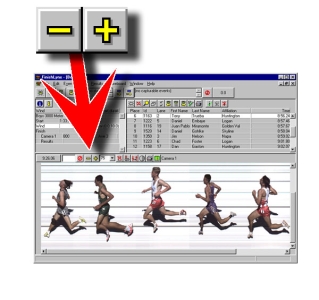
Position the cross hair at the center of the area of the image you wish to enlarge. Click on the zoom in icon marked with a “+”. This will zoom in 2x on the picture. Clicking the zoom out icon marked with “-” zooms back out.
Pixellation
It should be noticed that after a while of zooming in, the picture becomes very jagged or pixellated. How much the image can be magnified before this happens is tied to the height of the image as it was taken, and also related to the size of the file. There is a very simple trade-off between image quality and the size of the stored image on disk: the more information is kept, i.e. the bigger the file, the clearer the image stays at high magnification.
Intelligent zoom - The cross hair of the hash line is used to define the center point of Zoom operations. This is also the case when moving from full screen back to half screen.
Hash line persistence - The hash line stays in the position it was last left in during zooms, full-screen mode changes and scrolling.
These features allow the operator to center a particular part of an image by pointing the cross hair at it and then zooming in or out. Perhaps even more useful, it can be used to keep track of the last object that results were entered for while scrolling through a long picture.
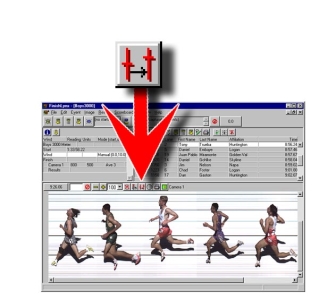
You can click ![]() on the Image Tool Bar to change the orientation of your FinishLynx image. This information also appears in the Hardware Control and Event windows, indicating whether your image orientation is set for Left or Right.
on the Image Tool Bar to change the orientation of your FinishLynx image. This information also appears in the Hardware Control and Event windows, indicating whether your image orientation is set for Left or Right.
If you do not see the Set image orientation button on the Image Tool Bar, follow these steps:
- Click Image from the menu bar and choose Options... The Options dialog appears.
- Check the box next to the
 icon and then click Ok.
 - Open an event. The button now appears on the Image Tool Bar (located just above the FinishLynx image).
The Scroll New Image function allows the image window in FinishLynx to scroll automatically so that the currently captured image is always visible. This feature is intended for use in motor sports, where the FinishLynx image is being continuously captured without an operator actively interfacing with FinishLynx.
- To enable Scroll New Image:
- Open an event.
- Click Image from the Menu Bar and select Scroll new image. A check mark appears next to this option in the list, meaning this feature is now enabled.
- To disable this feature:
- With an event open, click Image from the Menu Bar and select Scroll new image to clear the check mark next to this option in the list. The feature is now disabled.
There is a Quick Adjust button ( ) that allows one click Image Adjustments by changing the gamma value by 0.10.
- To use the Quick Adjust feature:
- Click to adjust by 1-step.
- SHIFT-Click to undo 1-step.
- CTRL-Click to reset.
Place the Iris Control buttons on the Image Tool Bar to conveniently adjust the iris during a race.
- To add Iris Control buttons to the Image toolbar:
- Click Image | Options...
- Check the box next to
 .
. - Click Ok.
- When you create a new Event, the Iris Control buttons appear on the Image toolbar.
If several attempts make no progress toward having the gain return between the Min and Max values, then Auto Iris is disabled until either the gain falls within range on its own, or it is manually re-enabled by clicking  , the Auto Iris button from the image toolbar.
- To display the Auto Iris button:
- Click File from the Menu Bar and select Options... The Options dialog appears.
- Click the Image tab.
- Click the check box next to the Auto Iris icons, and then click Ok.
- The icons appear above the Image Zone in the event screen and on the right side of the Hardware Control window.
 indicates that Auto Iris is enabled;
  indicates it is disabled. Click the disabled icon to re-enable Auto Iris.
The aspect ratio control can be used to indicate the effective frame rate of displayed EtherLynx images. By default, the edit box displays the camera frame rate which indicates no aspect ratio change. Entering a different frame rate will cause the image aspect ratio to change by modifying the vertical dimension. This can be useful to adjust the look of an image captured at a frame rate a little too fast or too slow before displaying the image on a video board for example.
|
NOTE: You can also specify the zoom level to apply to the vertical dimension by appending % to the number. For example, entering '200%' will double the height of the image (the equivalent of halving the frame rate). Alternatively, entering a number with 'h' appended creates the effective frame rate by stretching or compressing horizontally. Entering a number with 'H' appended means to zoom horizontally by that percentage.
|


