Information Zone
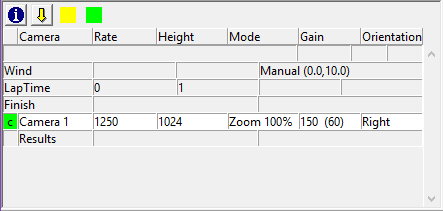
The Information Zone gives various useful details about the characteristics of the Event Window. The field titles for each item listed become visible along the top header when the option is selected by a single click of the mouse button. The item that relates to the titles currently being displayed is highlighted in white.
![]()
Click this icon while a Camera lines line is selected to open the Camera Settings dialog.
![]()
Click the Advance Capture icon to manually move the current capture split to the next split when using the Multiple-Split Interface (MSI) Plug-in.
|
|
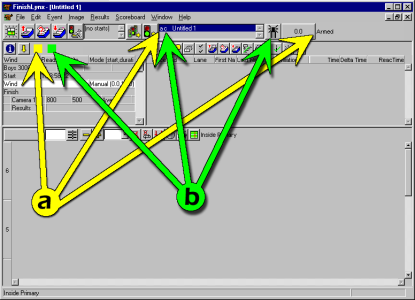
The YELLOW box indicates an Event is Armed and ready to receive the next start. |
|
|
The GREEN box indicates capture is enabled for an Event. |
Armed and capture indicators also appear in the Open Event listing, the Capture icon, Running Time Status as well as the Camera lines line of the Information Zone.
Click in the Event field to type in an Event name. If using a database software to produce start lists, the Event name, Event #, Round# and Heat# fields will automatically be filled when the Event is created.
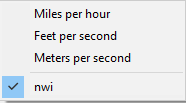
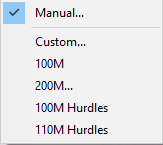
Wind readings can be entered manually or - with the necessary hardware - automatically into FinishLynx. This information is included along with any results transferred via a data interface, and is saved when a race is saved.
Full instructions on setting up FinishLynx to operate automatically with a wind gauge can be found in Wind Gauges.
Full instructions on setting up FinishLynx to operate with a LapTime device can be found in LapTime Operations.
- Total Laps Click to type the number of laps for the race.
- Laps/Split Click to type the number of laps to count down for each split entered or received.
- Too Fast Time Click to type a time that should be flagged with red text in the Results Zone if a split time is faster.
- Too Slow Time Click to type a time that should be flagged with red text in the Results Zone if a split time is slower.
The Finish split appears by default when a new event is created. Additional splits can be added when the Multiple-Split Interface (MSI) Plug-in is in use. Cameras settings and Results rows are nested under each split line.
- Split Click to type a split name.
- Start Click to type the time (in seconds), after the start signal, that capture should be triggered when Timed Capture is used.
- Duration Click to type the time (in seconds) that capture should last when Timed Capture is used.
Basic camera settings for all connected cameras are displayed in the Information Zone, and they can be altered by typing new values in the relevant fields. For more information, see Camera Settings
- c (GREEN box) Shows which cameras are currently ready to capture.
- Camera Clicking the camera name will bring up the following choices in a pop-up window, used to determine the position of the image pane for the selected camera.

- Rate Click to type and modify the frame rate. Only accepted when capture is disabled.
- Height Click to type and modify the frame height. Only accepted when capture is disabled.
- Mode Click the Mode column to bring up the following choices in a pop-up dialog:
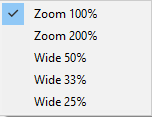
- Gain (Brightness) Click to type and modify the Gain (when manual gain is used) or Brightness (when Auto Gain Control is used).
- Orientation Click to toggle the image orientation.
- Distance Click to enter the race distance, to be used to calculate Pace. Some database software may populate this field automatically. See LapTime Operations for details.
- Length Time Click to enter the length time, to be used to override the global length time entered in the Results Options... The value can also be set automatically from the image. See Delta Time Features for details.

